
FROM TRANSCRIPT TO VIDEO
How to add subtitles to Instagram Reels.
Take your SRT into an editor, check the timing, and export a Reel with readable subtitles.
Get your Reel transcript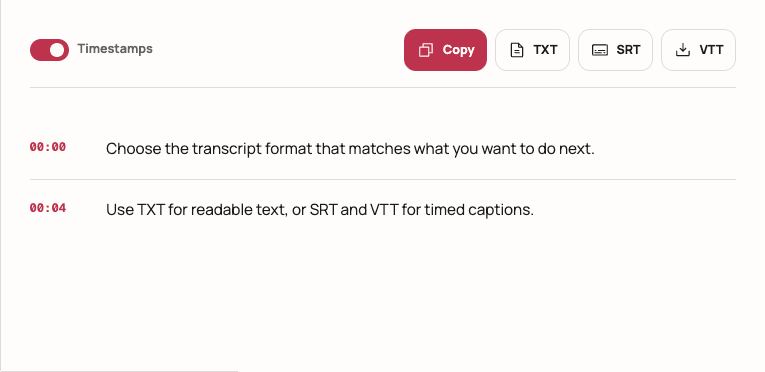
The workflow: pair the original video with its SRT, import both into a video editor, correct the captions, then render the words into the exported video. An SRT is a text file with cue times. It does not contain the footage or add words to the picture by itself.
Start with the same video.
Keep the original video you own or have permission to edit. Match it to the public Reel you transcribed: the same speech, clip order, opening silence, and playback speed. A Reel with a shortened introduction will have different cue times from your longer camera file. Finish major cuts before aligning subtitles.
If the Reel is already public, use its direct link in the transcript tool, review the result, and download SRT when available. The transcript download guide covers that step. Timed export depends on the segments returned by the transcription provider; timestamps are not guaranteed. When SRT is disabled, keep the TXT as a wording reference and create timing in your editor.
We export transcript text and available subtitle files. We do not download Instagram videos, accept unpublished video uploads, edit or rewrite your video, burn in subtitles, or publish to Instagram. Use your own original footage in the editor. This workflow does not upload an SRT directly to Instagram.
Read one cue before importing.
Each SRT cue has a number, a start and end time, and the words to display. A blank line separates cues. In the example below, the first sentence starts half a second into the source video and ends at 2.3 seconds. Commas separate milliseconds in SRT timecodes.
View sample SRT
1
00:00:00,500 --> 00:00:02,300
Keep the original video.

2
00:00:02,600 --> 00:00:04,600
Match each line to the voice.

3
00:00:05,000 --> 00:00:07,400
Watch the final export on your phone.
These lines and times were written for this guide. They are not a real Reel transcript or a claim about transcription accuracy. Download the sample to inspect its format; it will not match your video.
A plain transcript renamed from .txt to .srt is still missing the cue structure. Keep an untouched copy of a working SRT before editing it, and save text files as UTF-8 so accented characters and non-Latin scripts remain readable.
Import your SRT into the editor.
Create a project with your matching source video first. The routes below follow the linked official documentation, checked September 12, 2026; they are not a claim that we tested every editor version or account.
| CapCut version | External SRT | Where to start |
|---|---|---|
| Desktop | Supported | Captions → Add Captions |
| Web | Supported | Captions → upload caption file |
| Mobile | No direct import | Use Desktop or Web for this step |
CapCut Desktop or Web
On Desktop, open Captions → Add Captions and select the SRT. On Web, open the left-hand Captions area and upload the caption file; its documented import format is SRT, not TXT. Imported cues become editable timeline text blocks. Select a block to adjust words, timing, and appearance. Follow the CapCut subtitle import instructions if your interface differs.
CapCut's current help page does not support direct SRT import on Mobile. Start this workflow on Desktop or Web. Do not assume that a file in your phone's Downloads folder can be opened as an editable caption track.
Adobe Premiere
Import the SRT as project media. Drag it from the Project panel into your sequence; Premiere creates a caption track. Align it with the matching footage and review the text. See Adobe's caption import guide for the documented process.
Fix the cause of a timing mismatch.
Play the first spoken sentence, a sentence in the middle, and the final sentence. This separates a constant offset from timing that drifts through the clip. An imported file can be structurally valid and still be out of sync with the video you selected.
- Every line arrives equally late or early
- Check the starting position of the subtitle track. For example, if the exported Reel omitted two seconds of silence that remain in your original file, move the entire subtitle track two seconds later. Confirm that the same adjustment fixes the beginning and end before moving individual cues.
- The beginning fits, but later lines drift
- Look for a speed change, removed section, or a different edit of the video. A single track shift cannot repair this pattern. Use the matching cut or retime the affected sections. Recheck everything after any further video edits.
- Only one sentence looks wrong
- Listen again and adjust that cue's in and out points. Split a long sentence at a natural phrase break instead of shrinking all the text. Check the next cue for accidental overlap or a gap that cuts off the thought.
Proofread names, numbers, negations, and words masked by music against the audio. Preserve what was said; do not silently replace an uncertain phrase with a guess. Speech transcription can omit useful non-speech information. If that information matters to understanding, add appropriate sound or speaker labels during your caption review.
Export the words into the picture.
Choose a readable type size and strong contrast, then preview over both bright and dark footage. Keep captions away from faces, important objects, and the outer edges where playback controls can cover them. Use short phrase groups that can be read while watching the action. A pleasing still frame is not enough: watch every transition at normal speed.
For this workflow, export a video with the subtitle text visibly rendered into its frames, often called burned-in or hard subtitles. Exporting only another SRT leaves you with a separate text file. Open the finished video outside the editor and confirm the words remain visible without loading any subtitle file.
Transfer that rendered video to your phone and review it at normal viewing size, with sound and muted. You can then use your usual Instagram posting process. Keep the project and SRT for corrections: once text is rendered into video frames, changing it requires another export. This process creates a new video file; it does not update an already published Reel.
Check the file you will actually use.
Before the export
- The footage matches the transcribed Reel's edit and speed.
- The first, middle, and last cues align with speech.
- Names, numbers, line breaks, and overlaps have been reviewed.
After the export
- The finished video shows captions without a separate SRT.
- Text is legible on a phone and stays clear of important content.
- No duplicate subtitle layer, missing final line, or clipped text appears.
Common questions
Can I upload the SRT straight to Instagram?
This guide does not use a direct Instagram SRT upload. Import the file into your editor and render visible subtitles into a video first. The transcript tool does not connect to your Instagram account or publish on your behalf.
What if my transcript has no timestamps?
Copy the text or download TXT, then use it to correct captions timed in your editor. We cannot guarantee that the provider returns usable timing for each video. Renaming a TXT file does not create timestamps. If transcription itself fails, use the transcript troubleshooting guide.
Can I subtitle a Reel before it is public?
Use the original local video in your editor. This site accepts supported public Instagram links, not local files or private drafts. You do not need to publish a video just to create subtitles in an editor that supports your footage.
Will SRT preserve animated words or translate my speech?
The SRT supplies cue text and timing for the editor. Do not expect it to reproduce a Reel's animated text styling or create a translation. Adjust appearance in the editor and review the actual exported words. For a reusable spoken script, see the Instagram Reel script guide.